Lemon-Herb Roasted Turkey Tenderloin

Once upon a time I was shopping for groceries and I ran into a package of turkey tenderloins even though it WAS NOT Thanksgiving season. Experiencing a temporary bout of being sick of everything I was currently planning to make, I picked them up to see what new thing I could create.

Once home, I looked through a ton of recipes online and finally settled on an herb crusted roasted tenderloin but MY way.

Tuesday through Thursday of each week, my husband and I are busy until after eight PM, so I am always looking for healthy and easy, fresh, options for dinner. This recipe is so simple, you will gasp as you are putting it in the oven.

Ready?

I am going to spare you the commentary and get right to the recipe AND I will include your side items which can be prepared at the exact time you are cooking the tenderloins. The entire prep time takes less than ten minutes.

Here is a photo of what it looks like when it’s going into the oven.

img_0068


Herb Roasted Turkey Tenderloin (with lemon zest)

Ingredients:
1 package of Turkey Tenderloins (they come in two’s)
Salt & pepper
½ c. whole grain mustard (use whatever mustard you like. If you hate whole grain, use regular.)
1 Tbsp. honey
Zest of two lemons (If you hate lemon, leave it out, but you’re weird.)
¼ c. freshly chopped parsley
1 Tbsp. dried Rosemary
1-2 tsp. dried oregano

Instructions:

  •  Preheat oven to 400 degrees
  •  Rinse and dry tenderloins
  •  Salt and pepper both sides
  •  In a separate bowl, mix together the mustard and honey and then brush it onto both sides of the tenderloins.
  •  Sprinkle on the herbs and finish with the zest.
  •  Finally, wipe your brow. This is so hard, isn’t it?
  •  Bake for 35-40 minutes.
  •  Let rest for 10 minutes prior to slicing.

img_0067


EASY SIDES?

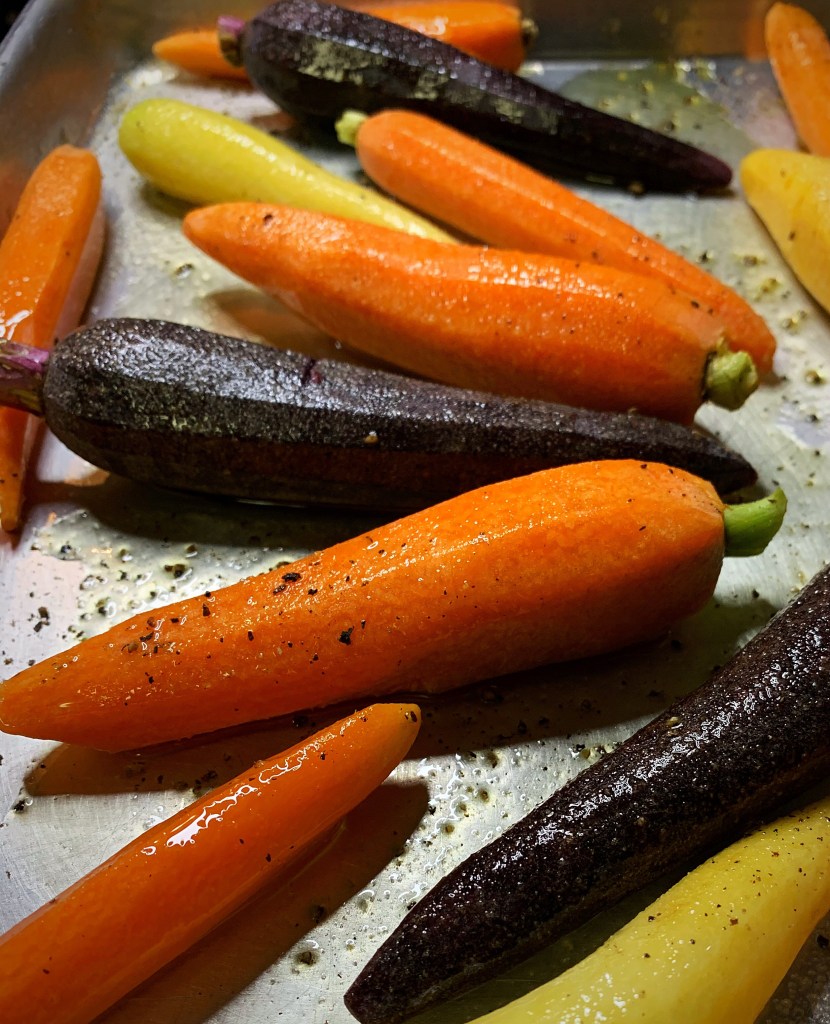
Go to Trader Joe’s and buy a bag of their multi colored baby carrots. Coat them in olive oil and salt and pepper and put them on a small baking sheet. Throw them in the oven at the SAME time you put the Turkey in. They will cook perfectly.

img_0069

img_0284

SIDE ITEM #2

Fresh Asparagus! 

While your other items are in the oven, trim the asparagus and place in a microwave safe dish. I always use real butter but you can roll them around in olive oil and salt and pepper if you prefer. Cover in plastic wrap OR use a paper plate or covering of your choice.

Wait until just before your turkey and carrots are ready and then microwave on high for 1 and a half minutes.

Done!

Asparagus

ALSO, there are SO SO many frozen prepared (steam in bag) vegetables out there that are healthy. Just pick what you like and go for it. Below are some green beans I did the other night.

img_0282

The Easiest Shrimp/Seafood Scampi Ever!

If ever I want to make my husband flip out with excitement, I announce that I’m making this dish. It’s his favorite and I love to make him happy! Here is how easy it is!

img_4903

Classic shrimp scampi doesn’t involve marinating the shrimp, nor does it involve tomatoes or basil, but I’m not making classic shrimp scampi here. This is a little recipe I made up in order to make life a little more simple and believe me, there is nothing more simple than this dish!

I usually start with a pound (or more) of Red Rock shrimp (because we like it best). Red Rock shrimp are brighter in color and have a consistency closer to lobster. We buy this at Trader Joe’s, but if you don’t have a Trader Joe’s in your area and you can’t find it, by all means just use regular shrimp (peeled and de-veined, of course.)

To a one gallon zip lock bag, I add the shrimp, plus a half cup of olive oil, about about six garlic cloves, minced, fresh cracked pepper and just a pinch of salt. Smoosh it around in the bag so all of the shrimp it coated and then set aside for at least a half hour. I leave it right on the kitchen counter. (Shhhh, it’s fine. I promise. You won’t die.)

Next the pasta pot gets filled with water and salt and brought up to a rolling boil. We like to use angel hair pasta for this recipe because it cooks very quickly (about ten minutes), but you can use whatever pasta you love.  Once I’ve dropped the pasta, I prepare a cast iron skillet with two tablespoons of real butter (never use anything but 100% full fat, real butter!) melting over medium high heat.

When the butter has melted, I pour the contents of the shrimp bag, (olive oil and all), right into the skillet. Using a spatula, I quickly distribute the shrimp so they are in a single layer. Shrimp cook very quickly -literally just a couple of minutes- so it’s important to watch them closely and turn them over as soon as they are becoming pink and opaque.

If this were a regular shrimp scampi recipe, wine would be added early  into this mix, but I am not a fan of cooking with wine, so I ignore this step. Instead I like to pop in some pretty tomatoes right after the shrimp goes in and then fresh basil towards the end. Make sure to continue stirring frequently so the shrimp are not over-cooked.

I said this was seafood scampi, correct? This is because my dear husband, Charlie, likes to sneak off to Trader Joe’s and buy things I would never even consider looking at. For instance; this stuff:

Frozen-Seafood-Mix

I would never have even looked at this, let alone purchased it, but it made him happy, so he did. I obliged him by thawing it out and adding it right into the skillet at the same time I put in the shrimp. (No marinade for the seafood.)

See how colorful these shrimp are? In this photo, they are about 95% cooked. I love how they retain their pretty color. Regular shrimp do turn pink but not like this!

img_4904

Finally, I take the skillet off the heat and give the dish a stir as I add in the fresh basil. You might notice that there is no photo of this step. This is because I didn’t have a lot of the fresh basil this time. Oh and by the way, your tomatoes might not smile like mine. I’m magic. You’re probably not magic. ♥

Once the pasta is finished cooking, it gets tossed in with the garlic sauce and seafood, then plated and sprinkled with a little fresh Parmesan cheese.

Finito!

img_4896


Ingredients:

½ cup of olive oil

½ Teaspoon cracked black pepper

¼ Teaspoon salt

2-3 Tablespoons butter

6 garlic cloves, minced

1-2 lbs. Red Rock Shrimp, thawed (peeled & deveined)

1 pkg. Pana Pesca Seafood Mix (Optional. You can sub in any seafood mix you like or don’t do it at all.)

¼ cup fresh basil (torn)

¼ cup Parmesan (finely grated)

10-12 cherry tomatoes (optional & use however many you prefer)

¼ – ½ lb. angel hair pasta


Directions:

To a one gallon zip-lock bag add the shrimp, olive oil, garlic, salt & pepper. Smoosh it around making sure the shrimp is coated. Set aside for at least half an hour. I do not refrigerate the shrimp, but you can if you are afraid.

Prepare pasta according to instructions on the box. (Boil water, add salt, and add pasta…yada yada…)

Melt 2 tablespoons of butter in a cast iron skillet set to medium high. When the pan is hot, drop in the contents of the gallon bag. (If you are making seafood scampi-add the additional seafood as well.) Quickly distribute the shrimp so they are in a single layer in the pan. Add the tomatoes. Continue stirring keeping careful watch on the shrimp. They are finished when they are pink and opaque. The whole process takes about 2-3 minutes on each side, but it can happen faster, so watch carefully.

Once the shrimp are just about cooked, I like to add one more tablespoon of butter and the basil, then stir once more and remove from the heat. Add a final pinch of freshly cracked pepper.

Drain the pasta, mix it in with the scampi.

Garnish with grated Parmesan and a little more pretty basil!

Enjoy!